Arrott Smith
Roasting Manager & Quality Control
What Is Cupping?
Coffee cupping is utilized all the way from the farm where it is grown to your local coffee roaster where it is roasted and sold.
Cupping is both a subjective matter and an objective one. It can be used to quantify one coffee or compare many.
It is both incredibly complex, and yet, simple enough to do in your own home.
At Peregrine, it is part of our weekly journey. We cup frequently as a means for quality control of our own coffees. It also allows for proper sampling of coffees we receive from importers. In regards to their samples, if we like what we taste, we contact that importer or farmer directly to arrange purchase and shipment. This is the process a coffee must undergo to make it to your cup. Cuppingproves that a coffee is worth putting on our shelves.
Because I’ve spent years guiding backpacking trips with an outfitter, I have a mind for packing lists. I will provide you something similar for your at-home coffee cupping journey.
What You’ll Need to Cup

1 whole-bean coffee, or several (we recommend 1-3 coffees for beginners) – sample sizes will be 12.5g of coffee

Clean, purified water (200g per coffee)

A kettle, preferably a gooseneck kettle for easy pouring

A quality burr grinder

Brewing vessels (small bowls, cups, etc.) – helpful if same size, 1 coffee to 1 vessel – capable of holding 200g of water

Corresponding lids or plates to cover the brewing vessels

Secondary vessels (one with water, one without – used to clean spoon and to hold coffee waste)

A single cup for spit. Yes, spit! Use a cup you won’t mistake for another.

2 spoons

A scale capable of measuring mass in grams

A piece of paper and pen

Labels/markers

Timer, or phone with timer
How to Cup
When cupping, your objective will be to score a coffee quantifiably and objectively; what notes you are tasting, however, is subjective. To achieve a level of objectivity, you will want to try “blind cupping” your coffee(s). (More on this later.)
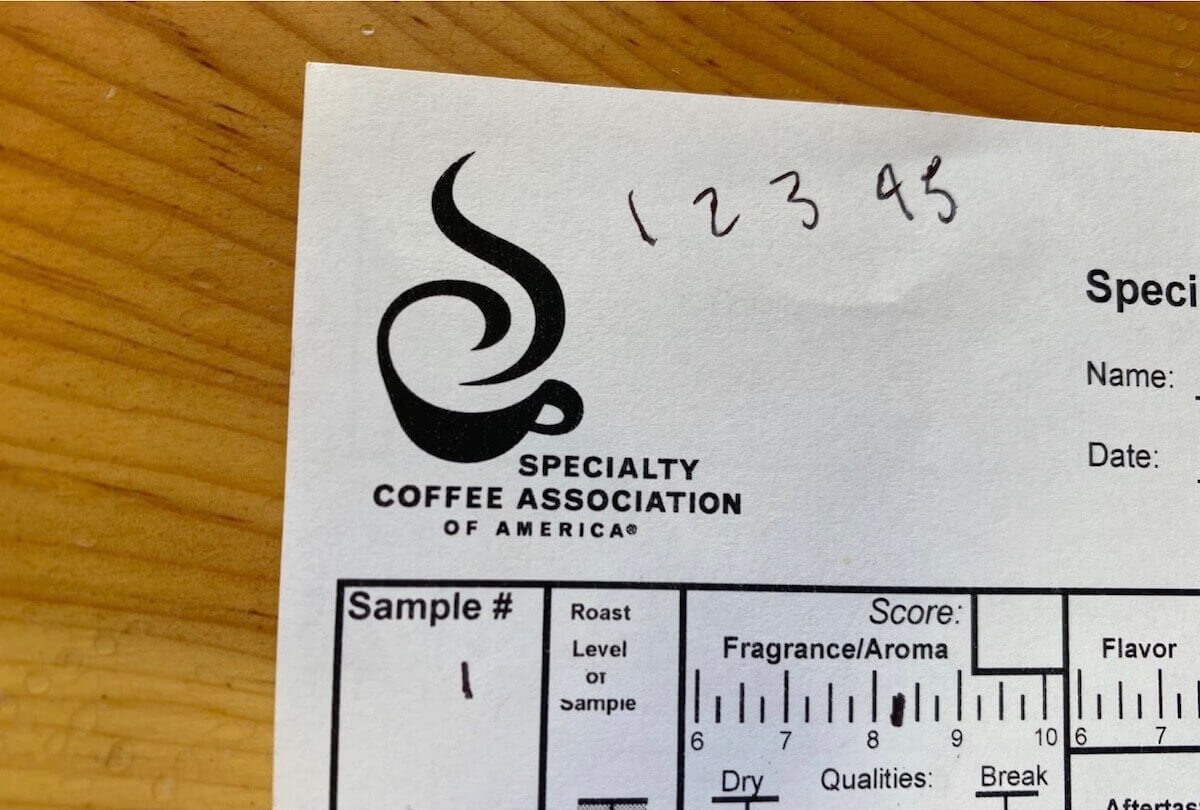
While you’re sampling the coffee(s), you’ll be giving a score. To simplify matters, we’ll be using a modified version of the SCAA (Specialty Coffee Association of America) method to cup. You can also print out the SCAA’s official score sheet (pdf). Keep in mind: Specialty coffee is coffee that scores above 80 points. You will be looking for most coffee from reputable coffee roasters to score between 80-89 points. Truly exceptional coffees (award-winning coffees) will score 89+ points.
If you’re unable to find those sheets, that’s OK! On your piece of paper, make rows for the coffees you’ll be scoring and make columns for the 7 different factors you’ll be scoring:
1. Fragrance/Aroma (1-10)
-
- Fragrance = smell of dry grounds
- Aroma = smell of wet grounds
2. Flavor (1-10)
-
- Quality of taste – What are you initially tasting?
- How clear or intense is the note?
3. Aftertaste (1-10)
-
- Quality of taste left in your mouth after drinking
The above 3 factors are those more easily explained; the remaining 4 may be new to you.
4. Acidity (1-10)
-
- Coffee is full of organic acids! It may be perceived by causing your mouth to pucker or sides of your tongue to tingle. It may also leave a dry mouth.
- The scoring of coffee acidity depends on what you know about the coffee you’re cupping. If you know you’re cupping Sumatran coffee, you may find acidity undesirable. If it’s an African coffee, some acidity is expected and may be desirable.
- Ultimately, if you find the level of acidity to be desirable, you will score acidity high.
5. Body (1-10)
-
- Body is coffee’s mouthfeel. How does your cup of coffee feel? Thin? Thick? Try swishing it around in your mouth a bit.
- Just like with acidity, it is up to you to decide what is and isn’t desirable. More often than not, a thicker mouthfeel will mean a higher body score and will be more desirable.
6. Balance (1-10)
-
- Is any one factor far and away higher or lower in score? If so, your coffee lacks balance. If your coffee has reasonably positive scores in a number of factors, your coffee is considered well-balanced.
- With balance, you are seeking to find a coffee that has favorable acidity, mouthfeel, fragrance, flavor, etc.
7. Overall (1-10)
-
- Now that you’ve spent time quantifying all aspects of the coffee, what is the overall score? Is the coffee an 8? Is it a 9?
- Many will look across their score sheet and either use the most common number they see (e.g., if you have a lot of 8.5 scores, use an 8.5) or average the scores of your factors so far (e.g., 60 ÷ 7 = ~8.5).
Since cupping is a new venture for you, we will keep it simple by limiting the process to these 7 factors. In order to land on your total score, simply total your 7 factors score and add 30 to it.
For example, if I score the 7 factors and get a score of 54, I will add 30 to it and get a final score of 84.

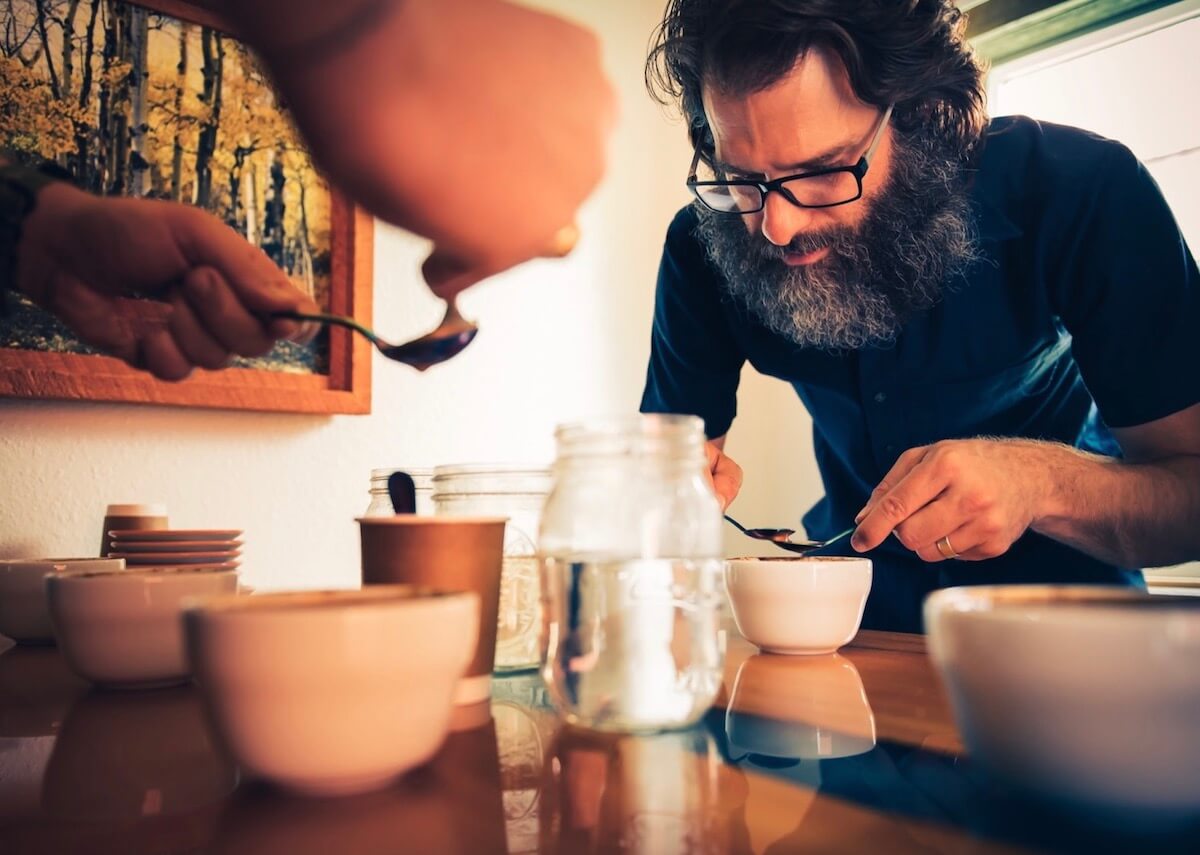
Roasting Manager Arrott Smith observing the dry fragrance of a coffee during a weekly cupping at Peregrine.
Photograph by Steve Willis
Fun Fact: Professional coffee tasters are called certified Q Graders, and according to these professionals, you’re not allowed to cleanse your palate between coffees. Luckily, you’re at home and you’re not going for a certification (yet), so feel free to drink water in between coffees if you so desire.
Step-by-Step Cupping Instructions
1. Gather all materials from the above checklist.
2. Apply a label to the bottom of each brewing vessel, indicating which coffee you will put in it. Turn them right side up again.
3. Using your scale, zero (or tare) for each vessel and fill with 12.5g of whole beans, corresponding to the label you have placed on the bottom side.
4. One by one, grind your coffee samples (medium ground) and place them back in their corresponding vessel. Immediately after grinding, cover them with a lid or plate. This will keep the fragrance trapped inside.
5. Once you’ve filled your vessels, shuffle them and arrange them in a line. If you have a friend present, this is where they may potentially be a helpful hand. If someone else is able to do the shuffling, you can ensure you have no idea what coffee is where. . . yet another safeguard to your blindness in this cupping. It is not 100% necessary. (Often, I ask the help of Heidi, Conner, or Stephen to shuffle while I look away.) If your friend has not seen the labeling portion of the process, you’ve ensured there’s no bias present.
I personally prefer my brewing vessels in a line so there’s little room for error and confusion. On your piece of paper, make a note or a little drawing, indicating each vessel’s position and number. As you make notes or scores for each coffee, you will not know which coffee you are scoring (as you are now “blind cupping”); but you will know which physical vessel you are evaluating. (See example below.)

Using an SCAA sheet, I have noted that vessels 1–5 are positioned in a line of 1, 2, 3, 4, and 5 (left to right). Towards the bottom, the first row of my sheet will be dedicated to thoughts on sample 1 (or vessel 1). However, I won’t know the coffee inside this vessel until the end of the cupping. This helps eliminate bias towards a particular coffee.
6. Now that you are blind cupping, and your samples are set up correctly, you are ready to get the fun started! Get your kettle boiling. I have partly limited you to 3 samples as most kettles only have capacity to get 3 samples brewing simultaneously. (When we cup at the shop, we often have to use multiple kettles. That’s an unrealistic ask for most at-home cuppers.)
7. Here’s where you need to double-check that you’re set up correctly. This is a point where things will begin to accelerate and be time-sensitive. If you feel your sheet is set up well, proceed.
8. One vessel at a time, lift the lid or plate off of your sample. Get your nose very close to the grounds, and smell the fragrance. Softly shake the vessel to release as much fragrance as possible. Rate 1-10. You will struggle to know what an 8 smells like initially, but you will learn over time with comparison to other coffees. If you are cupping with someone else, make sure to return the lid or plate immediately.
9. After you have smelled the dry fragrance, you will begin to brew your samples. Remove all lids and plates. Zero the vessel on the scale. Once your kettle is boiling, pour hot water in your vessel until it weighs 200g. Once you have filled all vessels, set a timer for 4 minutes.
10. During the 4 minutes your samples are brewing, hover closely over each sample and take a good whiff, noting the wet aroma. If the smell has improved (or worsened) since you smelled the dry fragrance, note that change and change your fragrance/aroma score accordingly. Unless it is drastic, I personally only move this score up. To me, the fragrance is very valid. If it was amazing, don’t lower the score for an aroma that’s still decent.
11. Once the timer has reached 4 minutes, it is time to perform a “break” and then clean your vessels.
A “crust” of grounds should have formed on the surface by now. To break this crust, simply pick up a spoon, place it approximately in the middle of your vessel and push the crust open once forward, once back, and once forward again. If possible, try to have your nose close to the break in order to smell the intensity. I have had breaks that blew me away. This can also boost your fragrance/aroma score. Do this for each sample and rinse your spoons in the cup of water between samples.
In order to clean your vessel, take 2 spoons, overlapping the spoon portions at the end, and skim the surface of your vessels to remove foam and grounds. Don’t attempt to take grounds from anywhere other than the surface. Once your cup is clean, it should resemble a regular brewed cup of coffee without any surface material. Repeat this step for each sample. Grounds and foam can go in your empty vessel. Make sure to rinse your spoon in your water vessel between samples.
12. Time for tasting! Using your rinsed spoon, barely dip it below the surface of the coffee to fill it. If you dip too deep, you will stir up the grounds sitting at the bottom of the vessel. Once your spoon is full, bring it to your mouth and slurp the coffee in what feels like an obnoxiously loud manner. Not a joke! Cuppers are known for their loud slurping. The more strongly you slurp, the better your coffee will aerate (similar with wine). Should you be caffeinated already, or not in-need of hefty amounts of caffeine, this is where you would spit your mouthful into the designated cup.
13. Going vessel by vessel as they cool, taste the coffees and score them using the above advice (see “How to Cup” section). Even with just 3 vessels, you should continue to taste each coffee over the course of about 20 minutes. You want to get a taste range from hot to (when it is cooled to) room temperature. The most clarity in flavor exists when it is all the way cooled, but you will experience some unique notes along the “cooling journey.” Note anything interesting that you taste! Especially when comparing coffees, you’ll want to look back at your sheet and remember which one tasted like warm snickerdoodles.
14. Once you have tasted everything and scored it by each factor, total it, and add 30 to that total. Congrats! You’ve successfully cupped some coffee.
15. Make sure you clean up! Stephen knows I can forget this part!

This is an example of a row filled out on an SCAA sheet. Note that “Uniformity”, “Clean Cup”, and “Sweetness” are the 3 factors we won’t take the time to dive into right now. This is where the “add 30 to your total” comes from (compensating 10 points from each missing factor).
Excuse my quickly scribbled handwriting. I would like to formally apologize to my Elementary school teachers for my penmanship.
Final Thoughts on Cupping
While this long list of instructions can seem daunting, at-home cupping is totally achievable!
Take it in bite-sized pieces, and just start with a single coffee if need be.
Cupping is a great tool for anyone serious about developing their coffee tasting skills. Stay “devoted to the journey” of growing in your passion for coffee, and you’ll be an ace cupper–doing it in your sleep!
If you have any questions about cupping, I’d be pleased to get the chance to answer them. Don’t hesitate to reach out via Peregrine’s social media platforms or to shoot us an email–remember, we’re on this journey together!
We can’t wait to hear what you’re tasting!
Devoted to the Journey,
Arrott


0 Comments